
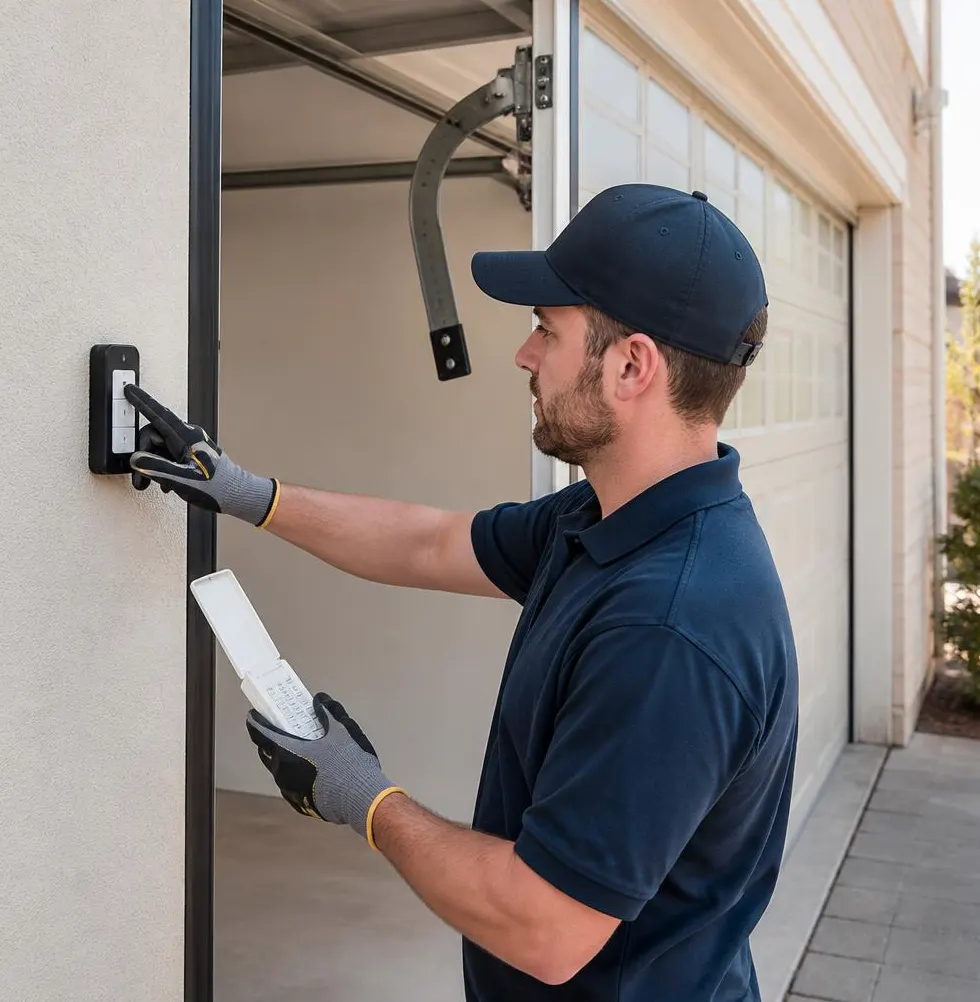
You hit the button on the opener and the door jerks instead of gliding, or it stutters halfway up with a grinding sound that wasn't there last month. Maybe you notice a thin line of rust creeping across a hinge, or the weatherstripping along the bottom looks swollen and spongy after weeks of afternoon downpours. None of this is an emergency yet — but it's the garage door's way of telling you it just survived another Florida summer and could use twenty minutes of attention before the drier, cooler months settle in.
This is the point in the year when it pays to walk out to the garage with a flashlight instead of waiting for the door to fail on you. Here's a routine you can run once a season, built around the specific wear that heat, humidity, and storm season put on a garage door system.
Tools You'll Need
- Work gloves
- A flashlight
- A socket set and adjustable wrench
- Silicone-based garage door lubricant (not WD-40 or a general household oil, which attracts dust and grit)
- A clean rag
- A step stool
The 20-Minute Routine
- Look before you touch the springs. Stand back and visually check the springs above the door for gaps, rust, or a spring that looks stretched or twisted differently than its partner. Springs are under heavy tension and are not a DIY repair item — this step is strictly look, don't touch.
- Clear the tracks and check alignment. Run your flashlight along both tracks. Wipe away any dust, leaves, or the fine grit that blows in during storms. Hold a level against each track — it should read plumb. A track that's pulled away from the wall or bent, even slightly, often traces back to wind gusts during a storm and should be flagged for a technician rather than forced back into place.
- Test the balance. With the opener disconnected (pull the release cord), lift the door manually about halfway and let go. A properly balanced door stays put. If it drifts up or slams down, the spring tension is off — that's a job for a professional, not an adjustment to attempt yourself.
- Lubricate the moving parts. Apply a light coat of silicone-based lubricant to the rollers, hinges, and the track-facing edge of the springs (not the coils themselves). In this climate, humidity works metal parts loose faster than in drier states, so this single step does more to prevent squeaks and premature wear than anything else on this list.
- Inspect the weatherstripping and seals. Press a thumb into the rubber seal along the bottom of the door and the vinyl stop along the sides. If it feels swollen, cracked, or spongy, moisture has gotten into it — common after a wet season — and it's an easy, inexpensive swap that keeps water and pests out of the garage.
- Check and tighten hardware. Go panel by panel with your socket set and snug any loose bolts on the hinges and roller brackets. The constant vibration from opening and closing, combined with humidity swelling the wood or composite panels slightly, works fasteners loose over a season.
- Test the auto-reverse safety feature. Place a roll of paper towels in the door's path and close it. The door should reverse on contact. Also wave a hand in front of the photo-eye sensors near the bottom of the tracks while the door is closing — it should stop and reverse. If either test fails, stop using the opener until it's repaired; this is a safety issue, not a convenience one.
- Check remote and keypad batteries, and listen to the opener. Weak batteries cause the delayed or inconsistent response people often mistake for a bigger mechanical problem. While you're at it, listen for any new grinding or straining sound from the opener motor itself — that's often the first sign the unit is working harder than it should.
What's Safe to Do Yourself vs. What Needs a Technician
Lubricating hinges and rollers, clearing debris from the tracks, swapping weatherstripping, tightening visible bolts, and testing the auto-reverse feature are all reasonable homeowner tasks. They don't require special tools beyond what's listed above, and getting them wrong mostly means repeating the step.
Anything involving the torsion or extension springs, a bent or misaligned track, a door that won't balance correctly, or cables that look frayed or off their drum is a different category. These parts are under high tension, and an amateur attempt can cause real injury or turn a $200 repair into a $600 one. If any of those symptoms show up during your twenty-minute check, that's your cue to stop and call in a technician rather than push forward.
When to Call Clarcona Garage Door Pro
If your seasonal check turns up a spring that looks off, a track that's bent from a storm, or a door that won't hold its balance, that's exactly what our Garage Door Spring Repair and Off Track Door Repair services are built for. We'll also run a full Garage Door Tune-Up & Maintenance visit if you'd rather have a technician handle the whole once-a-season routine — including the parts of the system, like spring tension and opener force settings, that aren't safe or practical to adjust yourself. We check hardware against the wind-load demands this area sees during storm season, something worth confirming even on a door that seems to be working fine.
If your twenty-minute walk-through in Clarcona, Apopka, Ocoee, Pine Hills, Winter Garden, Lockhart, Orlando, or Altamonte Springs turns up anything beyond lubrication and loose bolts, call Clarcona Garage Door Pro and we'll get a technician out to take care of it properly.